How to Create a Contact Form with WPForms Lite and Test the Complete Enquiry Flow
Build a simple enquiry form, place it on a contact page and check the visitor and notification experience before making it part of your business website.
What you will achieve
The goal is a contact page that a visitor can submit from a phone and a team member can respond to. Installing a form is only the first part: test the labels, confirmation message, notification address and the route for replying to an enquiry.
Before you start
- Use a staging site or another safe place to test changes.
- Confirm you can install plugins and edit the target page.
- Identify the official WPForms Lite package.
- Choose the inbox that will receive enquiries.
- Prepare a short explanation of what the form is for.
- Decide which information is actually needed to answer an enquiry.
- Arrange a real test from a phone and a separate email address.
Step-by-step instructions
- 1
Install and identify the official plugin
In your WordPress dashboard, open the plugin installer and search for WPForms. Match the package to the official WordPress.org listing linked below, install it and activate it. Avoid similarly named add-ons unless your project specifically needs them.
Expected result: The official plugin is installed and active in the test environment.
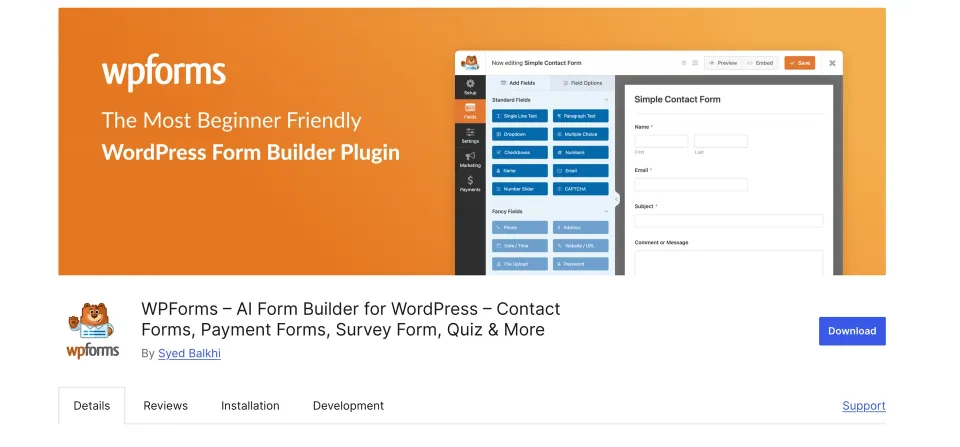
Match the plugin name and publisher to the official directory listing before installation. - 2
Create a clearly named form
Open WPForms and choose Add New. Name the form Contact Enquiry so another editor can recognise its purpose. Start with a simple contact template, then inspect each field instead of assuming the default arrangement matches the business.
Expected result: The saved form has a recognizable name.
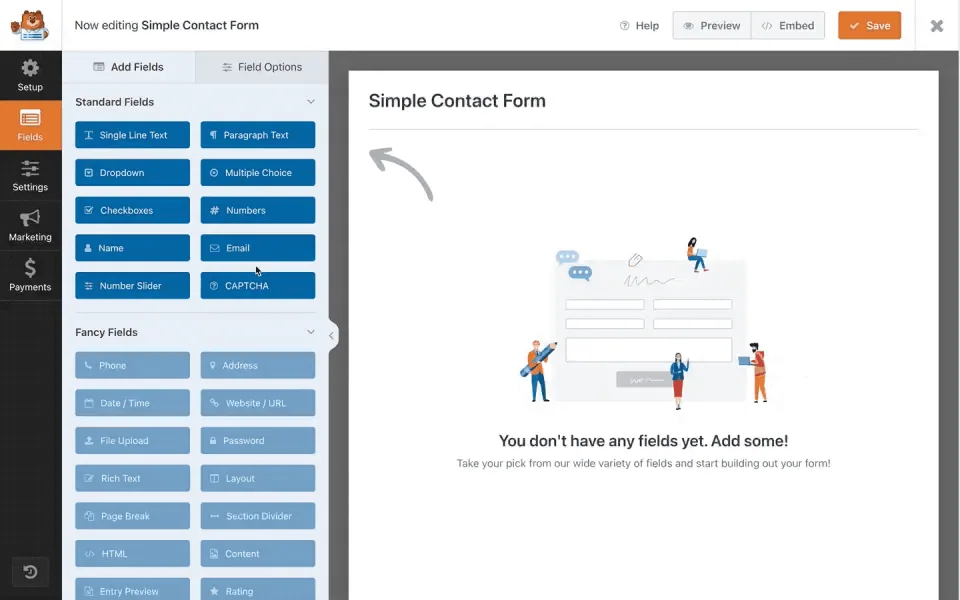
The empty builder is the starting point for a clearly named form. Add the fields that the enquiry process actually needs. - 3
Keep the request proportionate
For a basic enquiry, ask for the information needed to reply, such as a name, reply address and message. Explain the expected subject of the enquiry. Remove questions that create work for a visitor without helping the team respond.
Expected result: Each field has a clear purpose for replying to an enquiry.
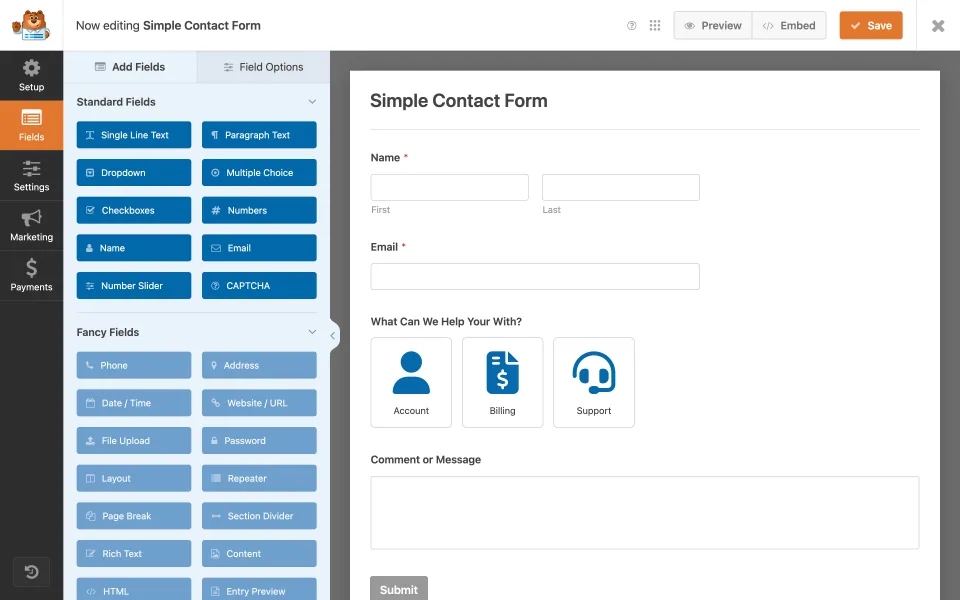
Keep only the fields needed to respond to an enquiry. Review their labels and required status before embedding the form. - 4
Check the response settings
Review the recipient address in the form notification settings and write a useful confirmation message. Explain what happens next and give an alternative contact route if the business has one. Save the form before leaving the builder.
Expected result: The saved notification recipient and confirmation match the intended process.
- 5
Place the form on the contact page
Use the available embed workflow or the WPForms block in the page editor to place the saved form on the intended page. Add an introduction above it and inspect the surrounding heading structure. Preview the page before publishing your page change.
Expected result: The intended saved form appears on the contact page.
- 6
Test as a visitor and as the recipient
Submit a realistic enquiry from a phone. Check missing-field messages, the visible confirmation and the notification in the intended inbox. Reply to the test message and make sure the business can actually continue the conversation. Record the result and the person responsible for future checks.
Expected result: The test submission reaches the intended inbox and can be replied to.
Troubleshooting and common mistakes
If the form does not appear, first confirm that the correct saved form is selected on the page and that the page itself has been updated. Check the public page while logged out. This separates an editor preview from the page a visitor actually receives.
If a confirmation appears but the team receives no notification, inspect the configured recipient and follow the plugin or hosting documentation for email delivery. A successful on-screen message does not by itself prove that a mailbox accepted the notification. Use a fresh test rather than relying on an older message.
If the phone layout is awkward, reduce unnecessary fields and shorten labels before adding more styling. Test keyboard navigation and error messages as well as the default appearance. A form should remain understandable when the visitor makes an ordinary mistake.
Treat the first week as an observation period. Confirm that staff know where enquiries arrive, who replies and what to do if the normal route fails. A reliable business process is more valuable than a form that only looks complete on launch day.
Visible form
Check the saved form selection, page update, readable labels and phone layout.
Received enquiry
Check the recipient settings, actual inbox delivery and staff reply route separately.
If a missing capability is pushing you toward an upgrade, check what the WPForms Lite free offer actually includes before assuming the problem requires a paid edition.
Check your result
- The public page displays the intended saved form.
- The form introduction explains what visitors can request.
- Labels and validation messages are readable on a phone.
- A complete test submission produces the expected confirmation.
- The configured inbox receives the test notification.
- The team can reply through the intended route.
- An owner is assigned to repeat the check after significant updates.
Frequently asked questions
Do I need a paid plan for this basic exercise?
The exercise starts with the Lite edition. Additional fields, integrations or workflows may require a different edition; verify those requirements separately.
Does seeing the success message prove email delivery?
No. Check the recipient inbox and the complete response process as separate acceptance steps.
Should I ask for a phone number on every form?
Only when it serves the intended enquiry process. Keep the request as small and understandable as the business task allows.
When should I retest the contact page?
After significant changes to the form, page layout, mail setup or related plugins, and at a regular interval chosen by the site owner.